
Intro
Take to the skies with our easy-to-follow guide on how to draw an airplane in 6 simple steps. Learn to sketch basic aircraft shapes, add details, and shade your plane to perfection. Discover essential drawing techniques, including perspective, proportions, and texture. Improve your artistic skills and create a realistic aeroplane drawing with ease.
Drawing an airplane can seem like a daunting task, but with these 6 easy steps, you'll be able to create a beautiful aircraft in no time. Whether you're an aviation enthusiast, an art lover, or simply someone who wants to try something new, this tutorial is perfect for you.
Airplanes have been a symbol of freedom and adventure for centuries, and their sleek designs make them a thrill to draw. From the smallest toy planes to the largest commercial airliners, airplanes have captured the hearts of people around the world. In this article, we'll take you through a step-by-step guide on how to draw an airplane, covering the basics of shape, proportion, and detail.
Step 1: Draw the Basic Shape
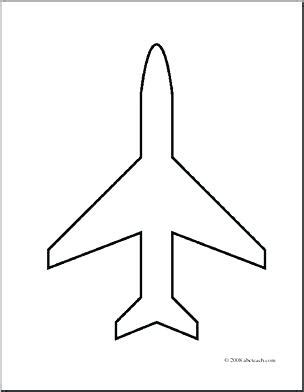
To start drawing your airplane, begin by sketching the basic shape of the fuselage. This is the main body of the plane, and it's usually cylindrical in shape. Use a long, curved line to draw the top of the fuselage, and a shorter, curved line to draw the bottom. Make sure the top line is slightly more curved than the bottom line, as this will help create the distinctive shape of an airplane.
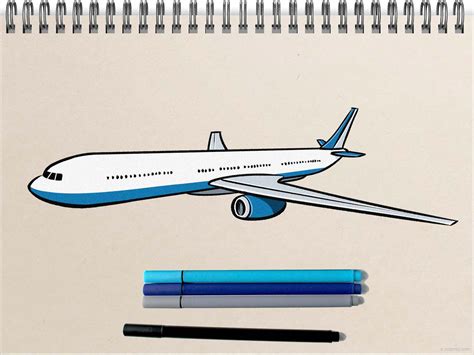
Tip: Use reference images to get the shape right
Looking at pictures of real airplanes can help you get the shape of your drawing just right. Pay attention to the proportions of the plane, including the length of the fuselage, the size of the wings, and the shape of the tail.
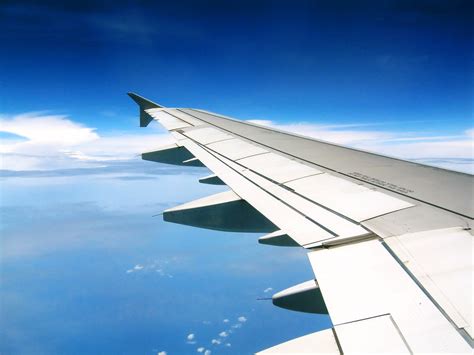
Step 2: Add the Wings
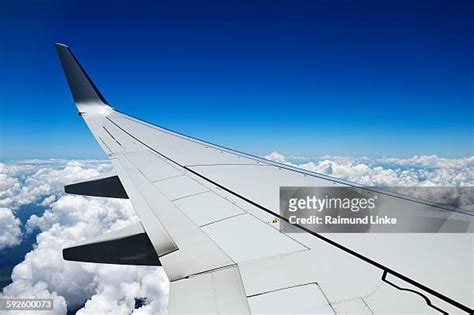
The wings of an airplane are usually triangular in shape, with a curved upper surface and a flat lower surface. To draw the wings, start by sketching a long, curved line that extends from the fuselage. This line should be slightly more curved than the top of the fuselage, and it should be parallel to the bottom of the fuselage. Use a shorter, curved line to draw the leading edge of the wing, and a flat line to draw the trailing edge.
Tip: Pay attention to wing shape and size
The shape and size of the wings will vary depending on the type of airplane you're drawing. For example, a commercial airliner will have larger, more curved wings than a small private plane.
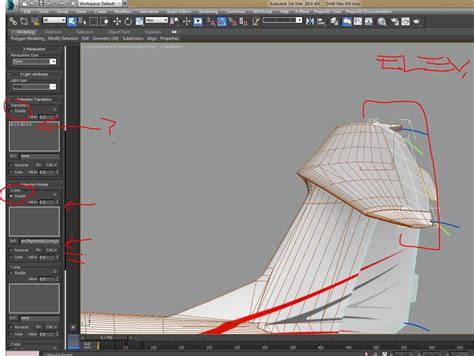
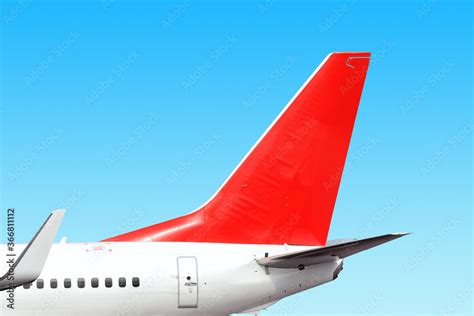
Step 3: Draw the Tail
The tail of an airplane is usually made up of a vertical fin and a horizontal stabilizer. To draw the tail, start by sketching a triangular shape that extends from the back of the fuselage. The vertical fin should be slightly more curved than the horizontal stabilizer, and it should be positioned at the back of the plane.
Tip: Use simple shapes to draw the tail
Drawing the tail of an airplane can be tricky, but using simple shapes can make it easier. Try breaking the tail down into its component parts, including the vertical fin and the horizontal stabilizer.
Step 4: Add the Engines
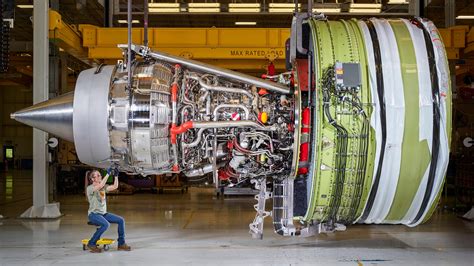
Most airplanes have engines that are attached to the wings or the fuselage. To draw the engines, start by sketching a cylindrical shape that extends from the wing or the fuselage. Use a smaller cylindrical shape to draw the engine nacelle, and a short line to draw the engine pylon.
Tip: Pay attention to engine size and placement
The size and placement of the engines will vary depending on the type of airplane you're drawing. For example, a commercial airliner will have larger engines that are attached to the wings, while a small private plane will have smaller engines that are attached to the fuselage.
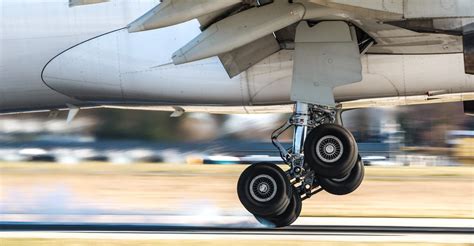
Step 5: Add the Landing Gear
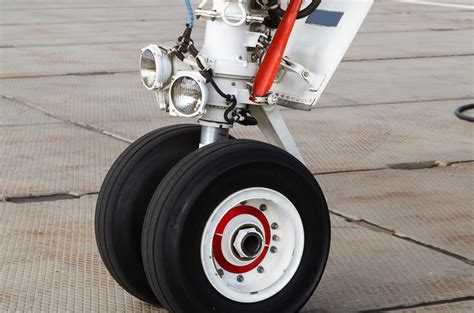
The landing gear of an airplane is usually made up of wheels and struts that are attached to the fuselage or the wings. To draw the landing gear, start by sketching a small wheel that is attached to a strut. Use a short line to draw the strut, and a small oval shape to draw the wheel.
Tip: Use simple shapes to draw the landing gear
Drawing the landing gear of an airplane can be tricky, but using simple shapes can make it easier. Try breaking the landing gear down into its component parts, including the wheels and the struts.
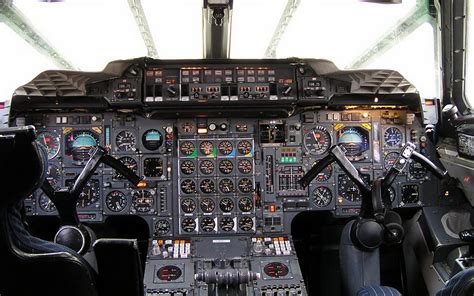
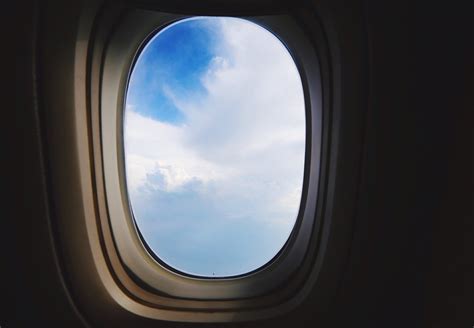
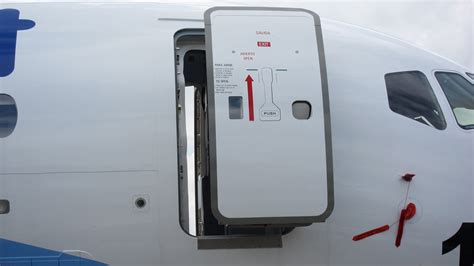
Step 6: Add the Final Details
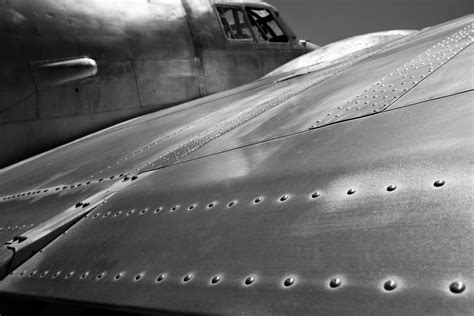
The final step in drawing an airplane is to add the final details. This can include things like windows, doors, and rivets. Use a small oval shape to draw the windows, and a short line to draw the doors. Use a series of small dots to draw the rivets.
Tip: Use a reference image to get the details right
Looking at pictures of real airplanes can help you get the details of your drawing just right. Pay attention to the shape and size of the windows, doors, and rivets, and try to replicate them in your drawing.
Airplane Image Gallery


What is the most important thing to consider when drawing an airplane?
+The most important thing to consider when drawing an airplane is the shape and proportion of the plane. Make sure to get the shape of the fuselage, wings, and tail just right, and pay attention to the size and placement of the engines and landing gear.
How can I make my airplane drawing look more realistic?
+To make your airplane drawing look more realistic, pay attention to the details. Add windows, doors, and rivets to your drawing, and make sure to get the shape and size of these details just right. You can also use reference images to get a better idea of what the plane should look like.
What is the best way to draw an airplane for beginners?
+The best way to draw an airplane for beginners is to start with simple shapes. Use a long, curved line to draw the fuselage, and triangular shapes to draw the wings and tail. Pay attention to the proportions of the plane, and make sure to get the shape and size of the engines and landing gear just right.
We hope this article has helped you learn how to draw an airplane. Remember to take your time, pay attention to the details, and practice, practice, practice! With a little bit of patience and persistence, you can create a beautiful airplane drawing that you can be proud of.