
Intro
Learn how to draw an AK 47 rifle with precision and detail. This step-by-step guide provides a comprehensive tutorial on sketching the iconic firearm, covering its key components, proportions, and intricate features. Master the art of drawing guns with our expert tips and techniques, perfect for artists, designers, and firearms enthusiasts.
Drawing an AK-47 rifle can be a challenging task, but with the right guidance, you can achieve a realistic and detailed representation of this iconic firearm. In this article, we will provide a step-by-step guide on how to draw an AK-47 rifle, covering its various components and features.
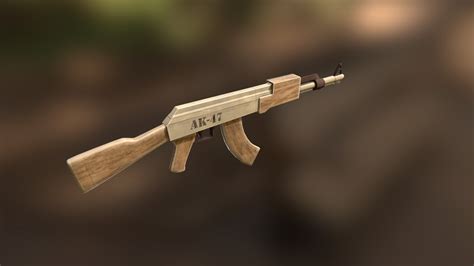
The AK-47 is a select-fire assault rifle designed by Mikhail Kalashnikov in the 1940s. It is widely used by military forces and civilians alike, and its distinctive design has become synonymous with firearms. To draw an AK-47, you will need to pay attention to its overall shape, proportions, and details.
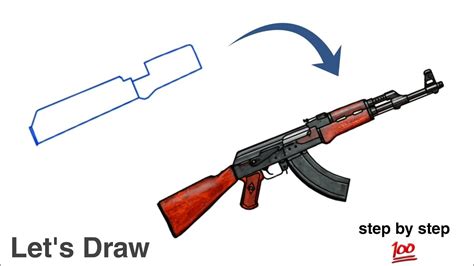
Step 1: Sketch the Overall Shape
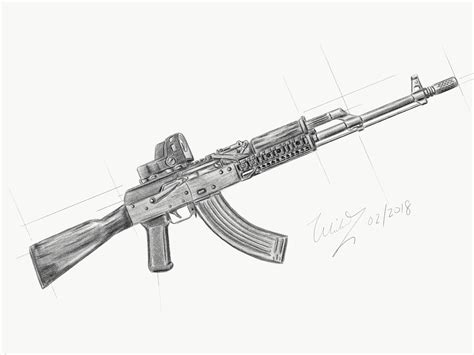
Start by sketching the overall shape of the AK-47. Pay attention to its proportions, with the rifle being approximately 880 mm (34.6 in) in length. Use simple shapes, such as rectangles and triangles, to help you get the proportions right.
- Draw a long, rectangular shape for the receiver, which is the main body of the rifle.
- Add a smaller, rectangular shape for the magazine, which is located below the receiver.
- Sketch a cylindrical shape for the barrel, which is attached to the receiver.
- Add a triangular shape for the front sight, which is located at the end of the barrel.
Step 2: Add the Stock and Handguard
The stock and handguard are two essential components of the AK-47.
- Draw a wooden or plastic stock, which is attached to the receiver. The stock should be slightly curved and have a distinctive shape.
- Add a handguard, which is a wooden or plastic cover that protects the user's hand from the heat generated by the barrel. The handguard should be cylindrical in shape and have a slight curve.
Step 3: Add the Magazine and Pistol Grip
The magazine and pistol grip are two critical components of the AK-47.
- Draw a curved magazine, which is attached to the receiver. The magazine should have a distinctive shape and be slightly curved.
- Add a pistol grip, which is attached to the receiver. The pistol grip should be slightly curved and have a distinctive shape.
Step 4: Add the Trigger and Safety
The trigger and safety are two essential components of the AK-47.
- Draw a trigger, which is located inside the pistol grip. The trigger should be slightly curved and have a distinctive shape.
- Add a safety, which is located on the right side of the receiver. The safety should be a small, rectangular shape with a distinctive lever.
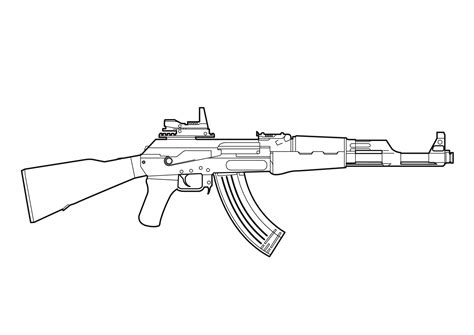
Step 5: Add the Sights and Muzzle
The sights and muzzle are two critical components of the AK-47.
- Draw a front sight, which is located at the end of the barrel. The front sight should be a small, triangular shape.
- Add a rear sight, which is located on the receiver. The rear sight should be a small, rectangular shape with a distinctive adjustment mechanism.
- Draw a muzzle, which is located at the end of the barrel. The muzzle should be a small, cylindrical shape.
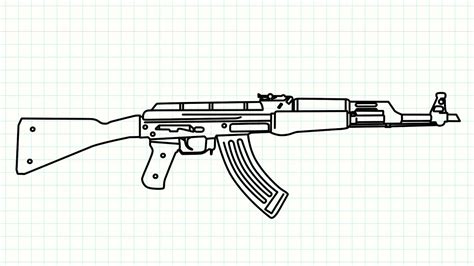
Step 6: Add the Final Details
Once you have sketched the overall shape and components of the AK-47, you can add the final details.
- Add texture to the stock and handguard to give them a more realistic appearance.
- Add details to the magazine, such as the magazine release and the curved shape of the magazine.
- Add details to the pistol grip, such as the texture and the shape of the grip.
- Add details to the trigger and safety, such as the shape and texture of the trigger and the safety lever.
Tips and Variations
Here are some tips and variations to help you improve your drawing:
- Pay attention to the proportions and overall shape of the AK-47. Use simple shapes to help you get the proportions right.
- Use reference images to help you get the details right. Look at pictures of the AK-47 from different angles to get a better understanding of its shape and components.
- Experiment with different textures and details to give your drawing a more realistic appearance.
- Try drawing different variations of the AK-47, such as the AK-74 or the AKS-47.
Gallery of AK-47 Rifle Drawings
AK-47 Rifle Drawings Gallery


FAQs
What is the best way to draw an AK-47 rifle?
+The best way to draw an AK-47 rifle is to use simple shapes and pay attention to the proportions and overall shape of the rifle. Use reference images to help you get the details right.
What are the key components of an AK-47 rifle?
+The key components of an AK-47 rifle include the receiver, magazine, barrel, stock, handguard, pistol grip, trigger, and safety.
How do I add texture to my AK-47 drawing?
+You can add texture to your AK-47 drawing by using different shading techniques, such as hatching and cross-hatching. You can also use reference images to help you get the texture right.
Share Your Thoughts
We hope this guide has helped you learn how to draw an AK-47 rifle. Whether you're a beginner or an experienced artist, we encourage you to share your thoughts and feedback with us. What did you find most challenging about drawing an AK-47? Do you have any tips or variations to share? Let us know in the comments below.