
Intro
Configure iCloud CalDAV URL setup easily. Sync calendars with CalDAV servers, iCloud calendar integration, and calendar sharing using iCloud CalDAV URL settings.
The importance of syncing calendars across multiple devices cannot be overstated, especially in today's fast-paced world where staying organized is key to productivity. One of the most popular and reliable services for calendar management is Apple's iCloud, which allows users to access their calendars from anywhere, at any time, as long as they have an internet connection. For those looking to set up their iCloud calendar on non-Apple devices or third-party applications, understanding how to configure the iCloud CalDAV URL is essential. This process might seem daunting at first, but with the right guidance, it's straightforward and can significantly enhance your calendar management experience.
Setting up your iCloud calendar using the CalDAV URL offers a range of benefits, including the ability to share calendars with others, set reminders, and organize events across different platforms. Whether you're using an Android device, a Windows PC, or a third-party calendar app, knowing how to set up the iCloud CalDAV URL can help you maintain a seamless and integrated calendar experience. This is particularly useful for individuals who use multiple devices for work and personal activities, as it ensures that all your schedules and appointments are up-to-date and accessible from any device.
The process of setting up the iCloud CalDAV URL involves several steps, which can vary slightly depending on the device or application you're using. However, the core principle remains the same: you need to enable CalDAV access in your iCloud settings and then configure the URL in your device's or application's calendar settings. This might require some technical know-how, but with step-by-step instructions, anyone can do it. Moreover, the benefits of having a unified calendar system far outweigh the initial setup effort, making it a worthwhile investment for anyone looking to streamline their digital life.
Understanding CalDAV and iCloud

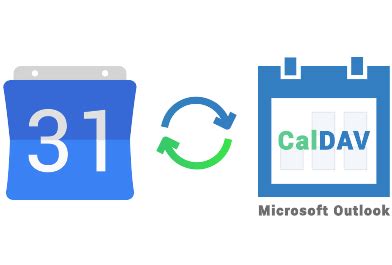
To begin with, it's essential to understand what CalDAV is and how it works with iCloud. CalDAV, which stands for Calendar Distributed Authoring and Versioning, is a standard protocol used for accessing and sharing calendar data over the web. Apple's iCloud supports CalDAV, allowing users to access and manage their iCloud calendars on non-Apple devices or applications that also support this protocol. This compatibility is what makes it possible to set up your iCloud calendar on a wide range of devices and platforms.
Benefits of Using CalDAV with iCloud
The benefits of using CalDAV with iCloud are numerous. For one, it offers cross-platform compatibility, which means you can access your iCloud calendar from any device that supports CalDAV, regardless of whether it's an Apple device or not. This is particularly useful for individuals who use both Apple and non-Apple devices. Additionally, CalDAV allows for two-way syncing, meaning that any changes you make to your calendar on one device will be reflected on all other devices connected to the same iCloud account. This ensures that your calendar remains up-to-date and consistent across all your devices.Setting Up iCloud CalDAV URL
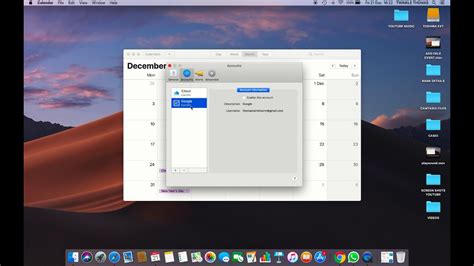
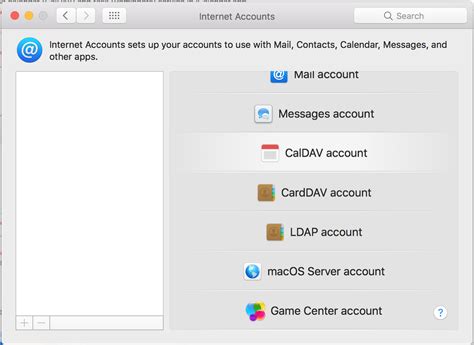
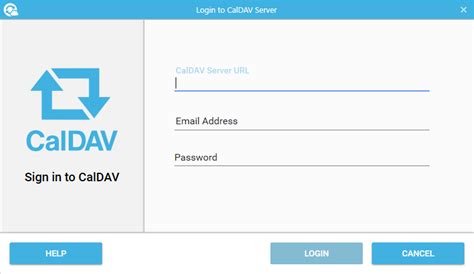
Setting up the iCloud CalDAV URL involves a few steps. First, you need to enable CalDAV access in your iCloud settings. This can usually be done by logging into your iCloud account on the web, going to the account settings, and looking for the option to generate an app-specific password or enable CalDAV access. Once you've enabled CalDAV, you'll need to configure the CalDAV URL in your device's or application's calendar settings.
Here are the general steps to follow:
- Log into your iCloud account on the web.
- Go to the account settings and find the section related to app-specific passwords or CalDAV access.
- Generate an app-specific password if required.
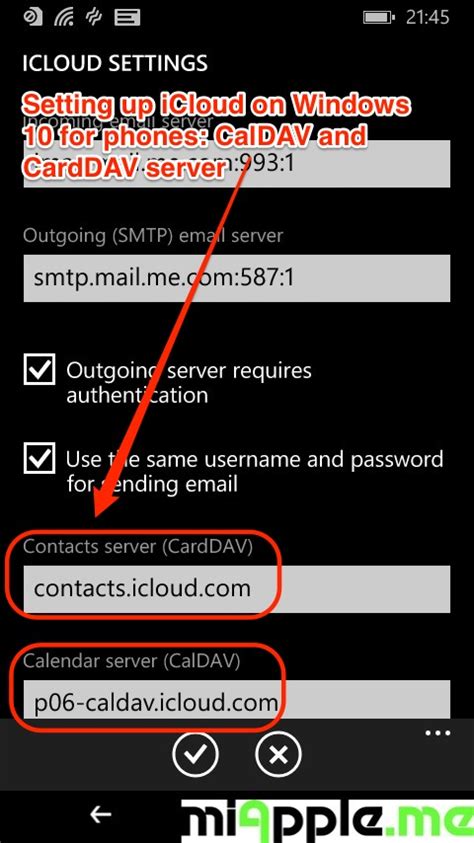
- Note down the CalDAV URL provided by iCloud. The URL format is usually
https://caldav.icloud.com/followed by your iCloud username and a specific calendar ID. - Open your device's or application's calendar settings.
- Look for the option to add a new calendar account or CalDAV account.
- Enter the CalDAV URL, your iCloud email address, and the app-specific password (if required).
- Save the settings and wait for your calendar to sync.
Troubleshooting Common Issues
While setting up the iCloud CalDAV URL is generally straightforward, you might encounter some issues along the way. Common problems include difficulty connecting to the server, authentication errors, or calendars not syncing properly. If you encounter any of these issues, the first step is to double-check your CalDAV URL, email address, and password to ensure everything is entered correctly. Additionally, make sure that your device or application supports CalDAV and that you have the latest updates installed.Using iCloud CalDAV with Third-Party Apps
One of the significant advantages of using the iCloud CalDAV URL is the ability to integrate your iCloud calendar with third-party apps. Many calendar apps on Android, Windows, and other platforms support CalDAV, allowing you to access your iCloud calendar directly within these apps. This can be particularly useful if you prefer the interface or features of a third-party calendar app over the standard calendar app on your device.
To use iCloud CalDAV with a third-party app, you generally follow the same steps as setting it up on a device, but you do so within the app's settings. Look for the option to add a new account or calendar, select CalDAV as the account type, and then enter your iCloud CalDAV URL, email address, and password. The app should then sync your iCloud calendar, allowing you to view and edit your events directly within the app.
Security Considerations
When setting up the iCloud CalDAV URL, especially with third-party apps, it's essential to consider security. Since you're providing access to your iCloud calendar, you want to ensure that the connection is secure and that your data is protected. Always use HTTPS (secure) connections when possible, and be cautious when entering your iCloud credentials into third-party apps. Additionally, consider using two-factor authentication (2FA) on your iCloud account to add an extra layer of security.Advanced CalDAV Features
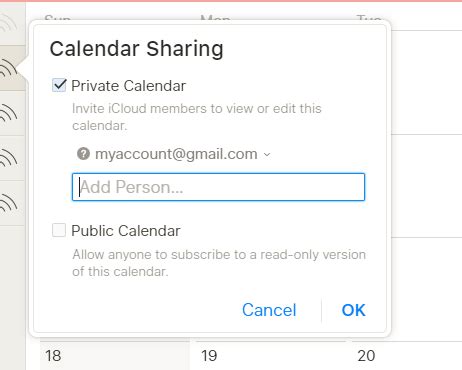
Beyond the basic setup, CalDAV offers several advanced features that can enhance your calendar management experience. These include the ability to share calendars with others, set different permissions for shared calendars, and use calendar delegation. Calendar sharing allows you to share specific calendars with friends, family, or colleagues, giving them permission to view or edit events. This is particularly useful for collaborative work environments or for keeping family members informed about each other's schedules.
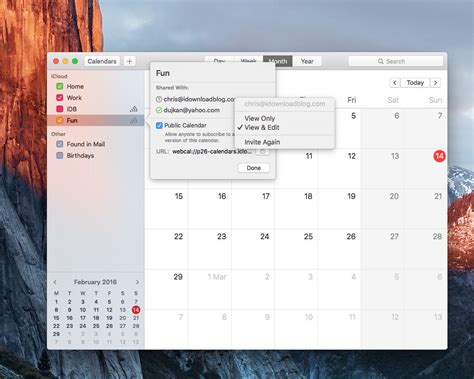
To share a calendar using CalDAV, you typically need to go into your iCloud calendar settings on the web, select the calendar you want to share, and then choose the sharing options. You can share calendars publicly, which generates a link that anyone can use to subscribe to your calendar, or you can share privately by entering the email addresses of the individuals you want to share with. You can also set different permissions, such as view-only or edit, depending on the level of access you want to grant.
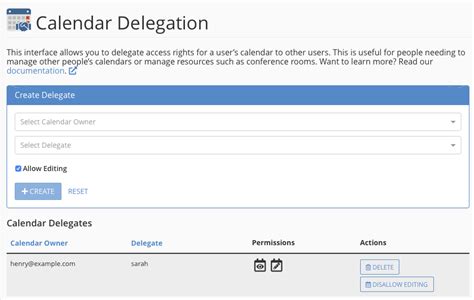
Calendar Delegation
Calendar delegation is another advanced feature that allows you to grant someone else control over your calendar. This means they can manage your schedule on your behalf, including creating, editing, and deleting events. To set up calendar delegation, you need to go into your iCloud account settings and find the section related to calendar delegation. From there, you can add the email address of the person you want to delegate control to and specify the level of access you want to grant.Conclusion and Future Directions

In conclusion, setting up the iCloud CalDAV URL is a straightforward process that offers a range of benefits for managing your calendar across multiple devices and platforms. Whether you're looking to integrate your iCloud calendar with a third-party app, share calendars with others, or simply ensure that your schedule is always up-to-date and accessible, CalDAV is a powerful tool. As technology continues to evolve, we can expect even more advanced features and integrations to become available, further enhancing the calendar management experience.
For those interested in exploring more about iCloud CalDAV and its applications, there are numerous resources available online, including tutorials, forums, and support pages. Apple's official support website is a great place to start, offering detailed guides and troubleshooting tips for common issues. Additionally, many third-party apps provide their own documentation and support for CalDAV setup and usage.
Final Thoughts
In final thoughts, mastering the iCloud CalDAV URL setup is a valuable skill for anyone looking to maximize their productivity and streamline their digital life. By understanding how to configure CalDAV and leverage its advanced features, you can create a seamless and integrated calendar experience that works across all your devices and platforms. Whether you're a busy professional, a student, or simply someone looking to stay organized, the benefits of using iCloud CalDAV are undeniable.iCloud CalDAV Image Gallery
What is CalDAV and how does it work with iCloud?
+CalDAV is a protocol used for accessing and sharing calendar data over the web. It allows users to manage their iCloud calendars on non-Apple devices or applications that support CalDAV, enabling cross-platform compatibility and two-way syncing.
How do I set up the iCloud CalDAV URL on my device or application?
+To set up the iCloud CalDAV URL, log into your iCloud account on the web, enable CalDAV access, note down the CalDAV URL, and then configure it in your device's or application's calendar settings along with your iCloud email address and password.
What are some common issues encountered when setting up iCloud CalDAV, and how can they be resolved?
+Common issues include difficulty connecting to the server, authentication errors, or calendars not syncing properly. These can be resolved by double-checking the CalDAV URL, email address, and password, ensuring the device or application supports CalDAV, and updating to the latest software versions.
We hope this comprehensive guide has provided you with the information and insights you need to set up and effectively use the iCloud CalDAV URL. Whether you're a seasoned tech enthusiast or just starting to explore the world of calendar management, the ability to seamlessly integrate your iCloud calendar across different devices and platforms can significantly enhance your productivity and organization. Feel free to share your experiences, ask questions, or provide tips in the comments below, and don't forget to share this article with anyone who might benefit from mastering the iCloud CalDAV setup.