
Intro
Learn to draw a fighter plane with precision and accuracy. This step-by-step guide covers the basics of aviation drawing, from fuselage to wings and cockpit. Master the art of drawing military aircraft, including F-16, F-22, and other iconic jets, with easy-to-follow instructions and expert tips.
Drawing a fighter plane can be a fun and creative activity, especially for those who are interested in aviation or military aircraft. With some guidance and practice, anyone can learn to draw a fighter plane step by step. In this article, we will break down the process of drawing a fighter plane into simple and easy-to-follow steps.
Why Draw a Fighter Plane?
Before we dive into the steps, let's explore why drawing a fighter plane can be a great activity. Not only is it a fun way to express your creativity, but it also allows you to learn about the design and mechanics of aircraft. Drawing a fighter plane can also help you develop your fine motor skills, hand-eye coordination, and attention to detail.
Materials Needed
To get started, you will need a few basic materials:
- Paper (preferably with a smooth surface)
- Pencils ( graphite and colored)
- Eraser
- Markers or colored pencils (optional)
- Ruler (optional)
Step 1: Sketch the Basic Shape
Start by sketching the basic shape of the fighter plane. Use a graphite pencil to draw a long, rectangular shape with rounded edges. The shape should be roughly twice as long as it is wide.
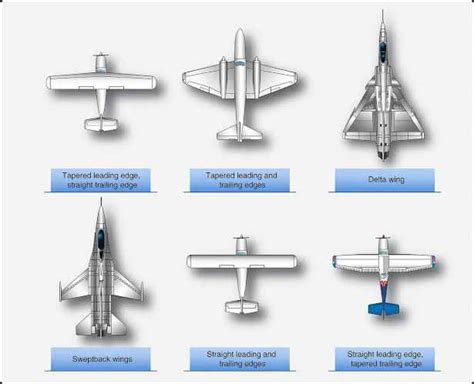
Step 2: Add the Wings
Next, add the wings to your fighter plane. Draw two triangular shapes on either side of the fuselage (the main body of the plane). The wings should be slightly angled upwards and have a curved edge.
Step 3: Add the Tail
The tail of the fighter plane is a crucial component, providing stability and control during flight. Draw a small triangular shape at the rear of the fuselage, with a curved edge.

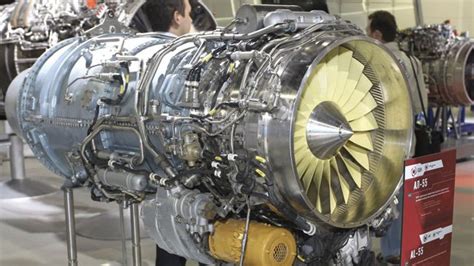
Step 4: Add the Engines
Most fighter planes have two engines, one on either side of the fuselage. Draw two small circular shapes, with a slight indentation in the center.
Step 5: Add the Cockpit
The cockpit is the control center of the fighter plane, where the pilot sits. Draw a small, rounded rectangle with a curved edge, located at the front of the fuselage.

Step 6: Add the Details
Finally, add some details to your fighter plane, such as:
- Aerials and antennas
- Exhaust nozzles
- Control surfaces (ailerons, elevators, and rudder)
- Armament (missiles, bombs, or guns)
Use a fine-tip pen or a marker to add these details.

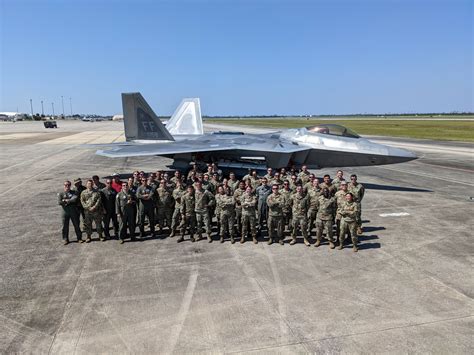
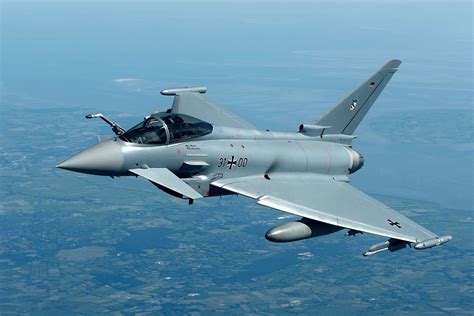
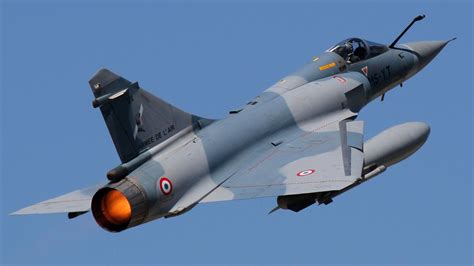
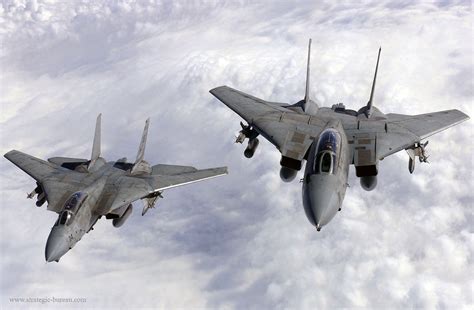
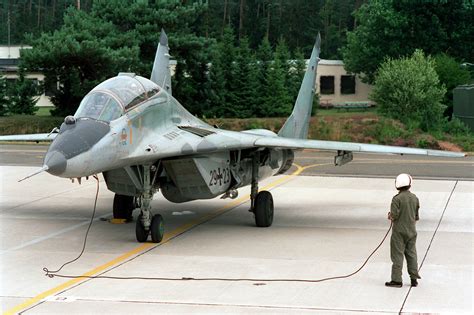
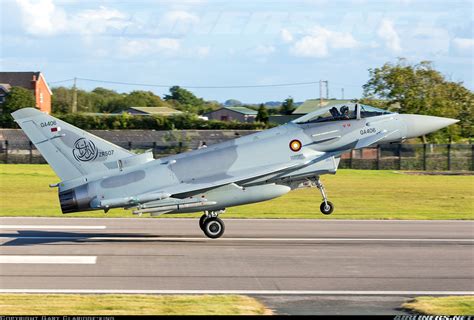
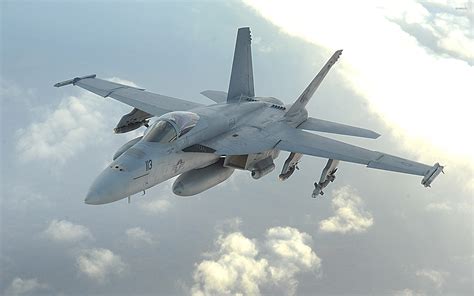
Gallery of Fighter Plane Images
Fighter Plane Image Gallery


Frequently Asked Questions
What is the best way to draw a fighter plane?
+The best way to draw a fighter plane is to start with the basic shape and then add the details gradually. Use reference images to get an idea of the proportions and design features of the plane.
What are the key features of a fighter plane?
+The key features of a fighter plane include its sleek design, pointed nose, and swept-back wings. It also has a powerful engine, advanced avionics, and armament such as missiles or guns.
How do I add details to my fighter plane drawing?
+Use a fine-tip pen or a marker to add details such as aerials, antennas, and control surfaces. You can also add armament, exhaust nozzles, and other features to make your drawing more realistic.
Conclusion
Drawing a fighter plane can be a fun and rewarding experience, especially for those who are interested in aviation or military aircraft. By following these steps and using reference images, you can create a realistic and detailed drawing of a fighter plane. Remember to pay attention to proportions, design features, and details to make your drawing stand out. Happy drawing!