
Intro
Learn to set printable area in Excel, adjusting page layout, margins, and print settings for precise document control, using Excels print range and scaling features.
Setting a printable area in Excel is a crucial step in preparing your worksheets for printing. This feature allows you to specify which part of your worksheet you want to print, making it easier to share or distribute specific data without including unnecessary information. In this article, we will delve into the importance of setting a printable area, how to do it, and provide tips on managing your print settings in Excel.
The ability to define a printable area is particularly useful when you're working with large datasets or complex spreadsheets. By limiting the print area, you can focus on the essential data, making your prints more concise and easier to understand. Moreover, setting a printable area helps in saving paper and ink, contributing to a more sustainable office practice.
Excel's print features are designed to be user-friendly, allowing even novice users to navigate and customize their print settings with ease. The process of setting a printable area involves a few straightforward steps that can be adapted to suit various printing needs. Whether you're printing a small selection of cells or an entire worksheet, Excel provides the flexibility to choose what you want to print.
Why Set a Printable Area in Excel?
Setting a printable area in Excel is beneficial for several reasons. It helps in organizing your prints, ensuring that only relevant data is included. This is especially important in professional settings where clarity and precision are key. Moreover, by controlling what is printed, you can protect sensitive information by excluding it from the print area.
Benefits of Setting a Printable Area
- **Saves Resources:** By printing only what is necessary, you reduce the amount of paper and ink used. - **Enhances Clarity:** Focuses the reader's attention on the important data by excluding unnecessary information. - **Improves Privacy:** Allows you to keep sensitive data confidential by not including it in the print area.How to Set a Printable Area in Excel
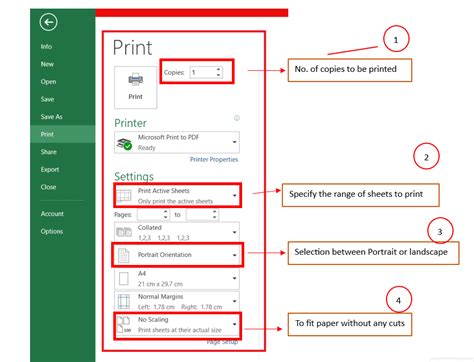
Setting a printable area in Excel is a straightforward process. Here are the steps to follow:
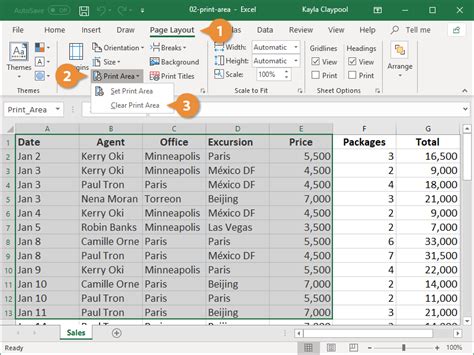
- Select the Cells: Click and drag your mouse to select the range of cells you want to print.
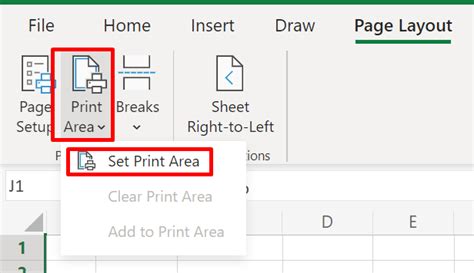
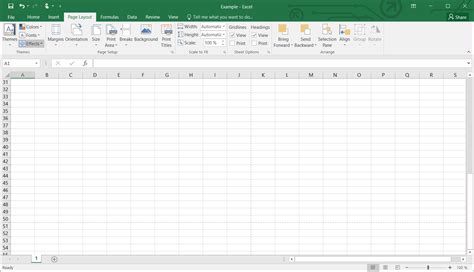
- Go to Page Layout: Navigate to the "Page Layout" tab in the ribbon.
- Print Area: Click on "Print Area" in the "Page Setup" group, and then select "Set Print Area."
- Clear Print Area: If you want to remove the current print area and start over, you can select "Clear Print Area" from the same dropdown menu.
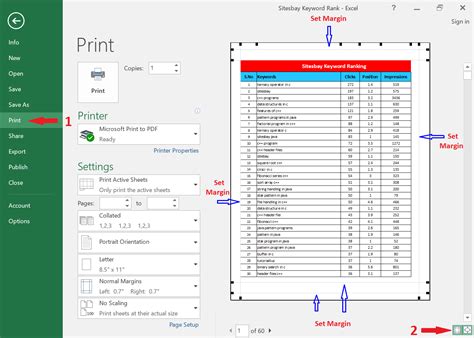
Tips for Managing Print Settings
- **Preview Before Printing:** Use the "Print Preview" feature to see how your worksheet will look when printed. - **Adjust Margins:** Modify the margins to fit more data on a page or to make your prints look more professional. - **Orientation:** Change the page orientation to landscape or portrait, depending on the layout of your data.Advanced Printing Options in Excel
Beyond setting a printable area, Excel offers several advanced printing options that can further customize your prints. These include:
- Scaling: Adjust the scaling to fit your data on a specific number of pages.
- Headers and Footers: Add custom headers and footers to your prints for better identification and branding.
- Page Breaks: Insert manual page breaks to control where your print job splits between pages.
Using Excel for Professional Printing
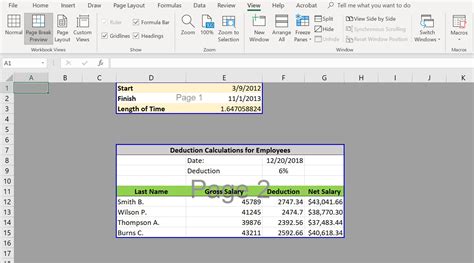
For professional printing, Excel's features can be leveraged to produce high-quality documents. This includes using themes and styles to enhance the appearance of your worksheets, and utilizing the "Page Break Preview" to manage how your data is divided across pages.Best Practices for Printing in Excel

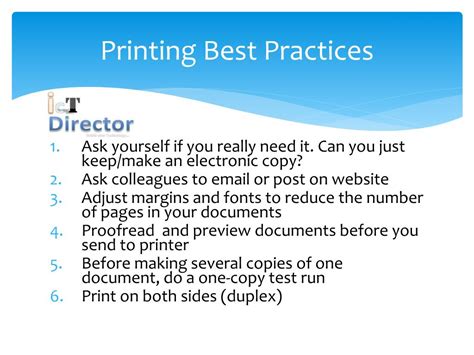
To get the most out of Excel's printing capabilities, consider the following best practices:
- Test Prints: Always do a test print before printing large quantities.
- Consistent Formatting: Ensure consistent formatting throughout your worksheet for professional-looking prints.
- Regular Updates: Keep your Excel version updated to access the latest printing features and improvements.
Common Issues and Solutions
- **Print Area Not Setting:** Check that you have selected the correct range of cells and that there are no hidden rows or columns affecting the print area. - **Printing Issues:** Ensure your printer is properly connected and that you have the latest printer drivers installed.Printable Area Images


How do I set a printable area in Excel?
+To set a printable area, select the cells you want to print, go to the "Page Layout" tab, click on "Print Area," and then select "Set Print Area."
Why is my printable area not printing correctly?
+Check that your print area is correctly set and that there are no hidden rows or columns affecting the print. Also, ensure your printer settings are compatible with Excel's print settings.
Can I set multiple printable areas in one worksheet?
+No, you can only set one printable area per worksheet. However, you can create multiple worksheets within a workbook, each with its own printable area.
In conclusion, setting a printable area in Excel is a simple yet powerful feature that can significantly enhance your printing experience. By understanding how to use this feature effectively, you can produce professional-looking prints, save resources, and protect sensitive information. Whether you're a beginner or an advanced user, mastering the printable area feature can take your Excel skills to the next level. So, the next time you're preparing to print from Excel, remember to set your printable area and explore the advanced printing options available to you. Share your experiences or tips on using Excel's printable area feature in the comments below, and don't forget to share this article with anyone who might find it useful.