
Intro
Boost your React app with a stylish calendar timeline. Discover 5 tips for a customizable React calendar timeline style, including layout, formatting, and interactive features for a seamless user experience.
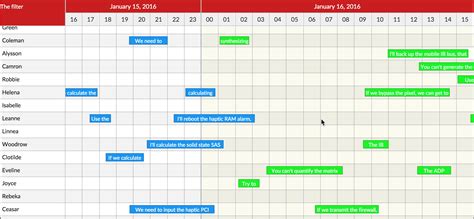
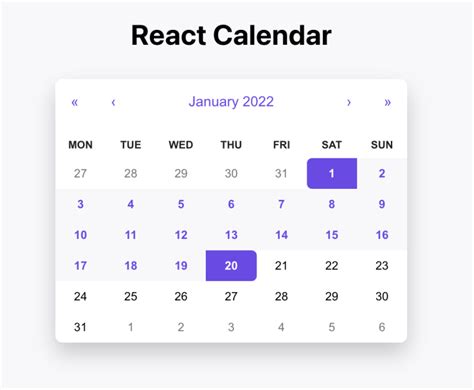
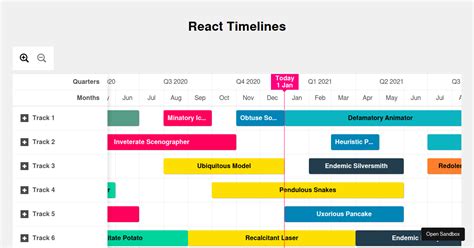
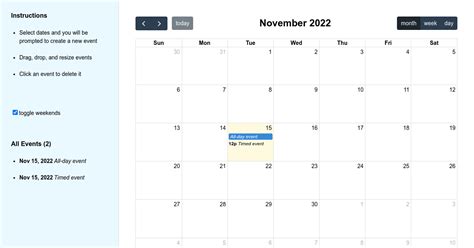
React calendar timeline style is a popular and effective way to display schedules, appointments, and events in a clear and organized manner. With the rise of web and mobile applications, the demand for interactive and user-friendly calendar components has increased significantly. In this article, we will explore five tips to help you create a stunning React calendar timeline style that enhances user experience and boosts productivity.
React calendar timeline style is essential for various applications, including project management tools, scheduling software, and event planning platforms. A well-designed calendar timeline can help users quickly identify patterns, trends, and conflicts, making it easier to manage their time and resources. Whether you're building a new application or upgrading an existing one, a React calendar timeline style can be a valuable addition to your UI/UX arsenal.
The importance of a React calendar timeline style cannot be overstated. It provides a visual representation of time, allowing users to navigate and interact with their schedules more efficiently. By incorporating a calendar timeline into your application, you can improve user engagement, reduce errors, and increase overall satisfaction. With the help of React and its vast ecosystem of libraries and tools, you can create a customized calendar timeline that meets your specific needs and requirements.
Tip 1: Choose the Right Library
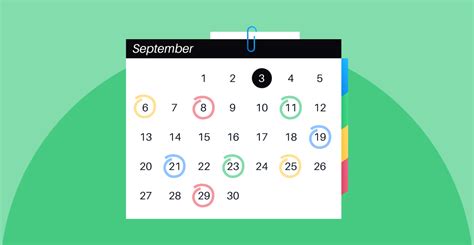
Tip 2: Customize the Layout

Tip 3: Add Interactive Elements

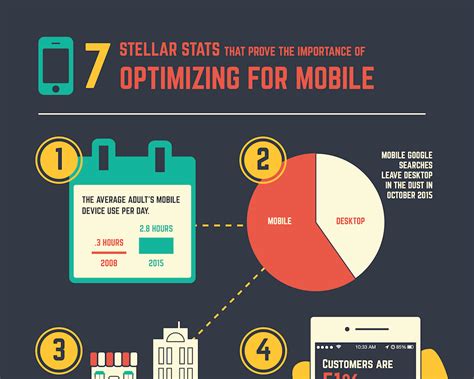
Tip 4: Optimize for Mobile Devices
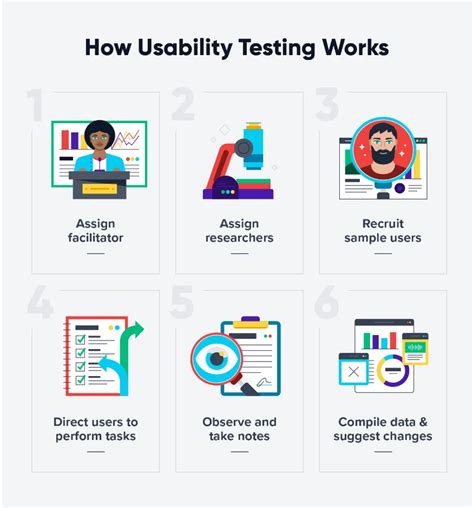
Tip 5: Test and Refine

Best Practices for React Calendar Timeline Style
To create an effective React calendar timeline style, follow these best practices: * Keep the design simple and intuitive * Use clear and concise labeling * Provide clear navigation and scrolling options * Use interactive elements to enhance the user experience * Optimize for mobile devices and different screen sizes * Test and refine the calendar regularlyCommon Mistakes to Avoid
When creating a React calendar timeline style, avoid these common mistakes: * Overcomplicating the design * Using too many colors or fonts * Not providing clear navigation options * Not optimizing for mobile devices * Not testing and refining the calendar regularlyReact Calendar Timeline Style Image Gallery

What is a React calendar timeline style?
+A React calendar timeline style is a visual representation of a calendar that displays events and appointments in a timeline format.
How do I create a React calendar timeline style?
+To create a React calendar timeline style, you can use a library such as React-Calendar or FullCalendar, and customize the layout and functionality to fit your needs.
What are the benefits of using a React calendar timeline style?
+The benefits of using a React calendar timeline style include improved user experience, increased productivity, and enhanced visual representation of events and appointments.
By following these tips and best practices, you can create a stunning React calendar timeline style that enhances user experience and boosts productivity. Remember to choose the right library, customize the layout, add interactive elements, optimize for mobile devices, and test and refine your calendar regularly. With a well-designed React calendar timeline style, you can take your application to the next level and provide a seamless user experience. Share your thoughts and experiences with React calendar timeline styles in the comments below, and don't forget to share this article with your friends and colleagues!