
Intro
Revitalize your eyeshadow palette with a simple 5-step cleaning process. Learn how to remove makeup residue, sanitize brushes, and prevent bacterial growth. Discover the importance of regular eyeshadow palette cleaning for a healthier makeup routine and to extend the life of your cosmetics. Get a fresh start with your eyeshadow collection today!
The world of eyeshadows - a realm of endless colors, textures, and possibilities. However, as we delve into this world, our eyeshadow palettes can become a breeding ground for bacteria, dirt, and other unwanted particles. It's essential to clean your eyeshadow palette regularly to maintain hygiene, prevent the growth of bacteria, and ensure your makeup stays fresh and vibrant. In this article, we'll walk you through the process of cleaning your eyeshadow palette in 5 easy steps.
Cleaning your eyeshadow palette is not just about removing visible dirt and debris; it's also about creating a safe and hygienic environment for your makeup application. Think about it - every time you dip your brush into the palette, you're potentially transferring bacteria and other contaminants onto your skin. This can lead to breakouts, infections, and other skin problems. By cleaning your eyeshadow palette regularly, you can prevent these issues and enjoy a healthier, more enjoyable makeup experience.
Furthermore, cleaning your eyeshadow palette can help extend the life of your makeup. When dirt and debris accumulate on the surface of the eyeshadows, they can become discolored, crumbly, or even develop an unpleasant texture. By removing these impurities, you can preserve the quality and appearance of your eyeshadows, ensuring they remain vibrant and usable for a longer period.
Step 1: Gather Your Cleaning Tools
To clean your eyeshadow palette, you'll need a few basic tools. These include:
- A soft-bristled brush (an old makeup brush or a small, dry paintbrush works well)
- A cotton swab or Q-tip
- A gentle cleaning solution (more on this in Step 2)
- A dry cloth or paper towel
- A palette cleaner or a specialized eyeshadow cleaning spray (optional)
Choosing the Right Cleaning Solution
When it comes to cleaning your eyeshadow palette, it's essential to choose a gentle cleaning solution that won't damage the eyeshadows or the palette itself. Avoid using harsh chemicals, abrasive cleaners, or hot water, as these can strip the eyeshadows of their color and texture.
Instead, opt for a mild soap solution, a specialized eyeshadow cleaning spray, or a mixture of equal parts water and white vinegar. These solutions are gentle, effective, and won't damage your eyeshadows.
Step 2: Remove Loose Debris
Using your soft-bristled brush, gently sweep away any loose debris or dust from the surface of the eyeshadows. This will help prevent scratching the eyeshadows during the cleaning process.
Focus on the Edges and Corners
Pay particular attention to the edges and corners of the palette, as these areas tend to accumulate the most debris. Use your brush to gently sweep away any dirt, dust, or other particles that may be hiding in these areas.
Step 3: Dampen the Eyeshadows

Using your cotton swab or Q-tip, gently dampen the surface of the eyeshadows with your chosen cleaning solution. Be careful not to soak the eyeshadows, as this can cause them to become discolored or develop an unpleasant texture.
Avoiding Over-Saturation
It's essential to avoid over-saturating the eyeshadows, as this can lead to a range of problems, including discoloration, crumbling, or even the growth of mold and mildew. Instead, aim to create a light, even mist that will help loosen and remove dirt and debris.
Step 4: Clean the Eyeshadows

Using your dampened cotton swab or Q-tip, gently clean the surface of the eyeshadows, working in a light, circular motion. Focus on one eyeshadow at a time, using a clean section of the cotton swab for each color.
Removing Stubborn Stains
If you encounter any stubborn stains or areas of heavy buildup, you can use a gentle scrubbing motion to help remove them. Be careful not to apply too much pressure, as this can damage the eyeshadows or the palette.
Step 5: Dry the Eyeshadows

Using a dry cloth or paper towel, gently pat the eyeshadows dry, working in a light, even motion. This will help remove any excess moisture and prevent the growth of bacteria or mold.
Allowing the Eyeshadows to Air Dry
If you prefer, you can also allow the eyeshadows to air dry, rather than using a cloth or paper towel. Simply leave the palette open, allowing the eyeshadows to air dry for a few hours or overnight.
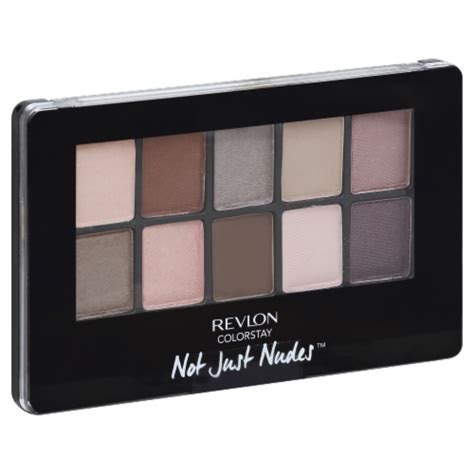
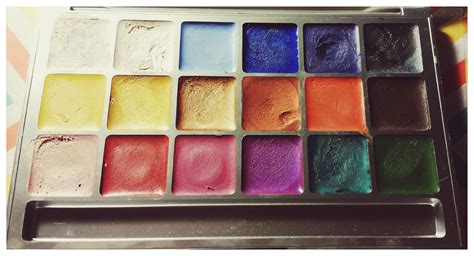
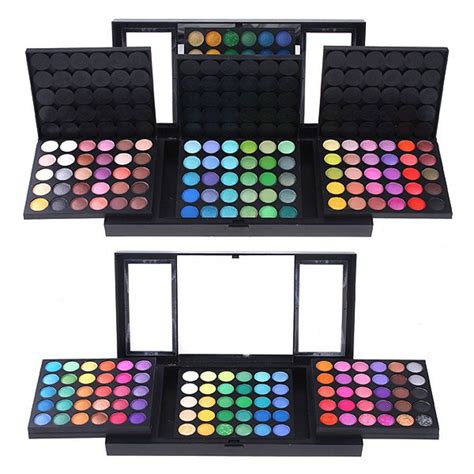
Gallery of Eyeshadow Palettes


How often should I clean my eyeshadow palette?
+It's recommended to clean your eyeshadow palette every 1-3 months, depending on how frequently you use it. Regular cleaning can help prevent the growth of bacteria and keep your eyeshadows fresh and vibrant.
Can I use soap and water to clean my eyeshadow palette?
+Avoid using soap and water to clean your eyeshadow palette, as this can strip the eyeshadows of their color and texture. Instead, opt for a gentle cleaning solution, such as a mixture of equal parts water and white vinegar.
How do I remove stubborn stains from my eyeshadow palette?
+To remove stubborn stains from your eyeshadow palette, use a gentle scrubbing motion with a dampened cotton swab or Q-tip. Be careful not to apply too much pressure, as this can damage the eyeshadows or the palette.
By following these 5 easy steps, you can keep your eyeshadow palette clean, hygienic, and in top condition. Remember to clean your palette regularly, use a gentle cleaning solution, and avoid over-saturating the eyeshadows. With a little care and attention, your eyeshadow palette will remain a trusted companion in your makeup routine, providing you with endless possibilities for creativity and self-expression.